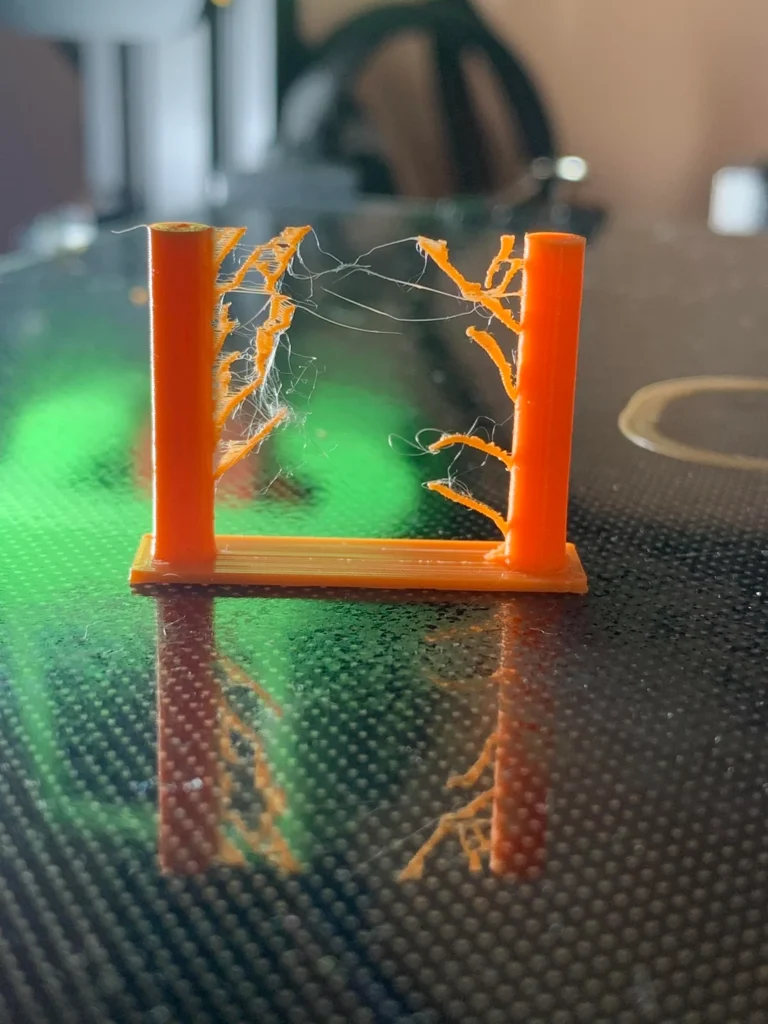
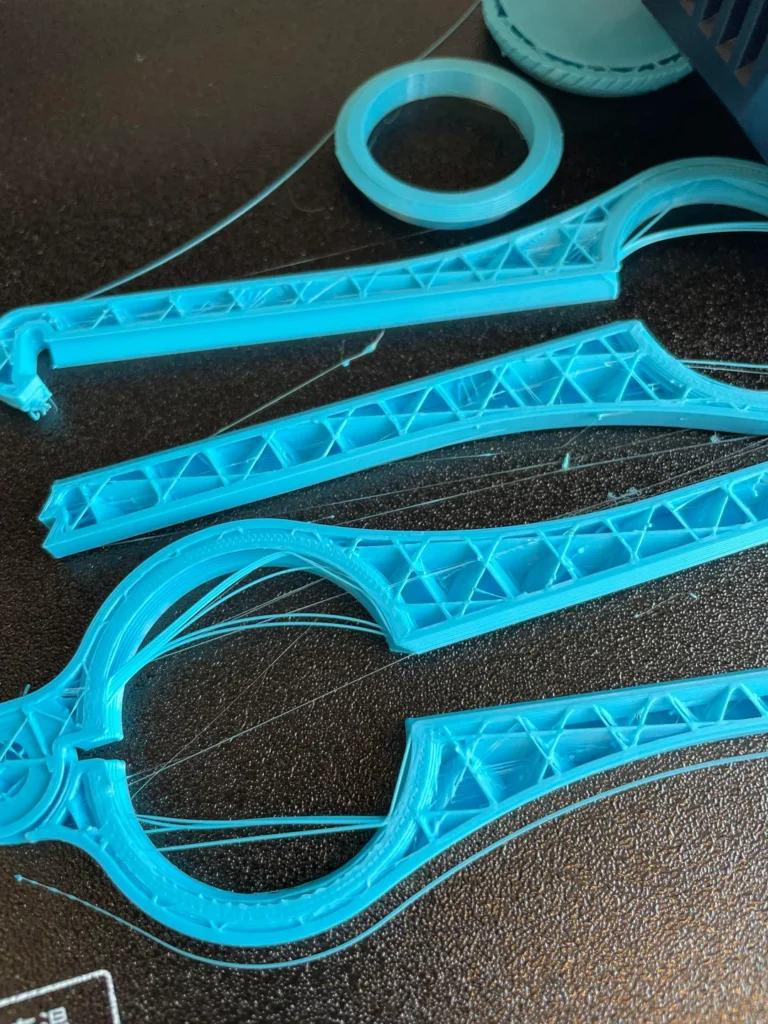
3D Print Stringing is a common 3D printing problem/issue/defect. It is the problem in fused deposition modelling (FDM) process in which thin strings are formed between two portions of the 3D printed parts. In this article we are going to find out what causes stringing in 3d printing.
Introduction
FDM 3D printing is a very popular 3D printing method. In this 3D printing method and technology, a material wire, which we also call filament, is melted and deposited layer by layer onto the build plate. As a result, a 3D structure or part is printed. There are many reasons for the popularity of this 3D printing method, one of which is its low cost. Among all the 3D printing technologies available in the market, FDM 3D printing machines are the cheapest.
Additionally, their size is also very small, which is why many hobbyists, DIY project makers, and researchers prefer this 3D printing machine. However, FDM 3D printing also faces several problems, one of which we will discuss in today’s blog: the stringing effect. In this article, we will talk about what the stringing effect is, its causes, why it happens, and how to fix it. We will cover all these points in this article, so let’s get started.
What is 3D Print Stringing?
If you use FDM 3D printing, you have surely noticed that sometimes small strands of material stick to the parts you print. This is known as the stringing effect or sometimes referred to as “hairy prints.” This is a problem that deteriorates the quality of the 3D printed parts, spoils their appearance, and has a significant adverse effect on the surface finish and overall look.


3D Print Stringing – What causes stringing in 3d printing?
So, let’s discuss the reasons behind the stringing effect. There are mainly five causes of stringing or “hairy prints” that I am going to explain below.
High Printing Temperature
The first cause is high printing temperature. High printing temperature makes the filament very liquid, which causes it to ooze and create a stringing effect.
Retraction Settings
The second cause is retraction settings. If the retraction setting is too low, meaning if we are retracting the filament at a low rate, it tends to melt and drip freely from the nozzle during movement.
Travel Speed
The next reason is travel speed. If the travel speed is low, the filament has enough time to melt and ooze out of the nozzle during non-printing moves. Therefore, with slow travel speeds, there is more oozing and stringing effect.
Material Properties
Another reason is the material itself. Some materials, such as flexible materials like TPU, tend to have a higher stringing effect. Controlling oozing in these types of materials is more challenging because their properties cause a higher melt flow.
Nozzle Condition
The last reason is the nozzle. If the nozzle is very old, worn out, or damaged, it cannot properly control the material flow. Therefore, a worn-out nozzle can also contribute to an increased stringing effect.
3D Printer Troubleshooting Stringing
We have discussed the five main reasons that contribute to the stringing effect. But what can be done to reduce the stringing effect? Here are some solutions for each of these five causes that can help prevent stringing.
Changing Retraction Settings
First, let’s talk about retraction settings. If the retraction setting or retraction distance is low, you should increase it so that the filament is pulled back from the nozzle more effectively. However, along with increasing the retraction distance, you should also increase the retraction speed so that the filament is pushed back into the nozzle as quickly as possible.
Reducing Printing Temperature
The second step we can take to reduce stringing is to lower the printing temperature. If we decrease the printing temperature, the material flow will be reduced, and the stringing effect can be minimized. However, we must ensure that the printing temperature remains within the recommended range for the material.
Adjusting Print Speed
The next solution is to adjust the speed. We should increase the travel speed so that the nozzle spends the least amount of time between printed parts during non-printing movements.
Wiping and Coasting
Wiping and coasting are two additional methods to reduce the stringing effect. In wiping, the nozzle moves slightly above the printed parts to stop oozing. In coasting, the extrusion of the filament is stopped just before the printing move ends, reducing pressure in the nozzle. Both of these processes can be used to minimize the stringing effect.
Using Different Material
As I mentioned earlier, the stringing effect also depends on the properties of the material. Sometimes, the filament we are using may cause a significant stringing effect. In such cases, we should try using a different brand of filament that produces less stringing.
Replacing the Nozzle
The last option we have to reduce the stringing effect is to replace the nozzle. As I mentioned, when the nozzle becomes old, worn out, or damaged, it tends to cause stringing. We should ensure to clean the nozzle after every print and replace it if it becomes damaged or worn out.
3D Print Stringing Problem on Reddit
Conclusion
I have discussed the possible reasons for this stringing effect (also known as oozing effect) and provided solutions for each reason. I hope all this information will be helpful in reducing the stringing effect. Along with this, I would like to give you some tips to avoid the stringing effect. First, do a test print. Before printing a large part, you can print a small part to set the optimal printing conditions. The second option is to regularly calibrate your printer to ensure optimal printing conditions. Use the features provided in the software, such as combing. This feature keeps the nozzle inside the print area, making the stringing effect less visible. You can use these features to eliminate the stringing effect.

Pingback: Why stepper motor is better than DC motor? - steppermotor.net