I didn’t buy an RC car—I engineered one.
This project started as a simple push toy and ended as a smart, Bluetooth-controlled RC car built using Arduino and 3D printing.
Here’s how mechanical design, electronics, and creativity came together on my workbench
Can a simple push-type toy car be transformed into a smart RC car using Arduino and 3D printing? This project proves that it absolutely can.
In this DIY experiment, I upgraded an ordinary toy car into a motorized, steerable, LED-equipped smart RC car, integrating mechanical design, 3D-printed components, electronics, and embedded control systems. This build reflects the core philosophy of TechKnowLab – Prototyping the Ideas!
A Hands-On Mechatronics Upgrade Project
If you’re searching for a DIY smart RC car project, an Arduino RC car tutorial, or a 3D printing mechatronics project, this post is for you.
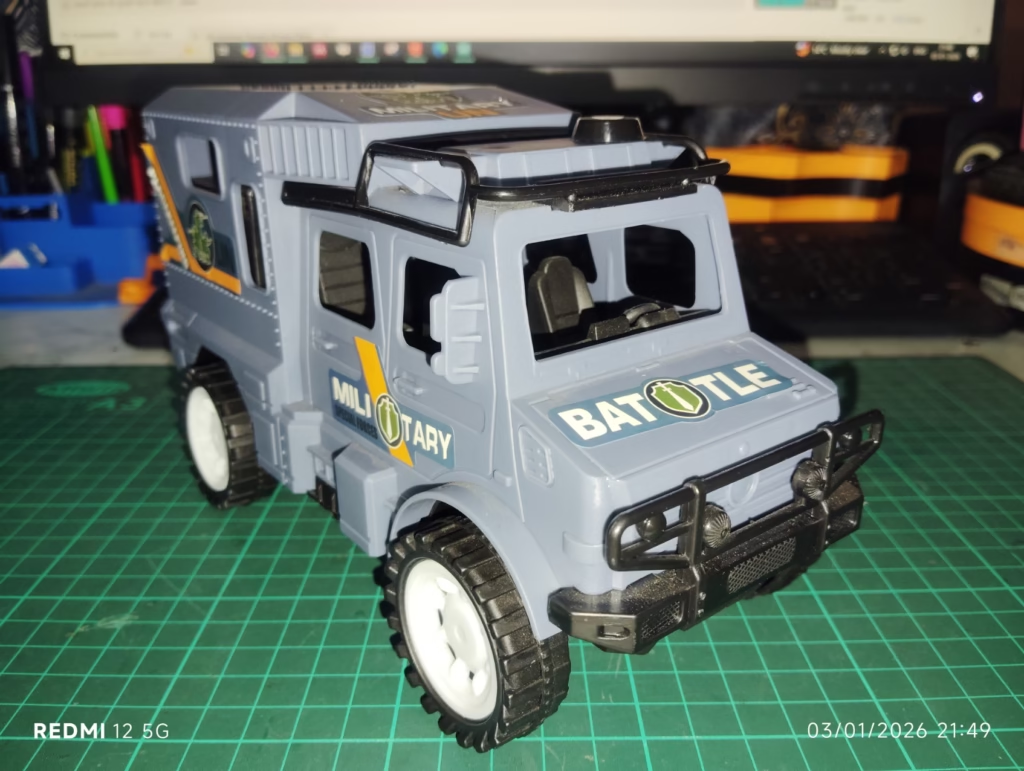
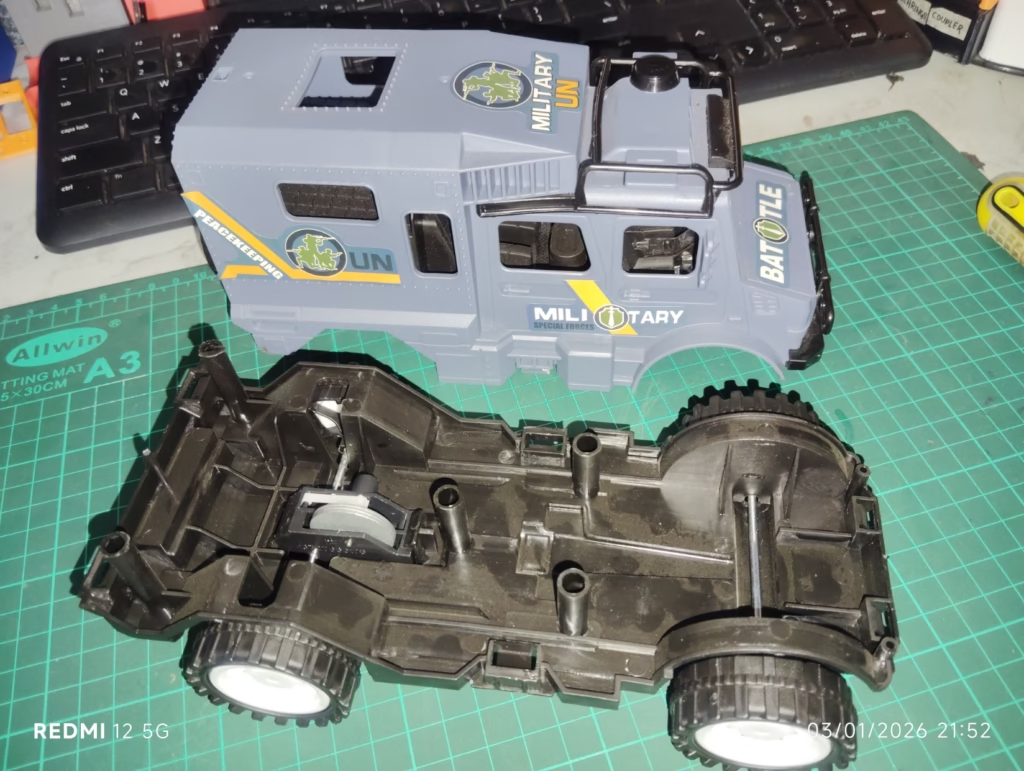
Step 1: Converting a Push Toy into a Motorized RC Car
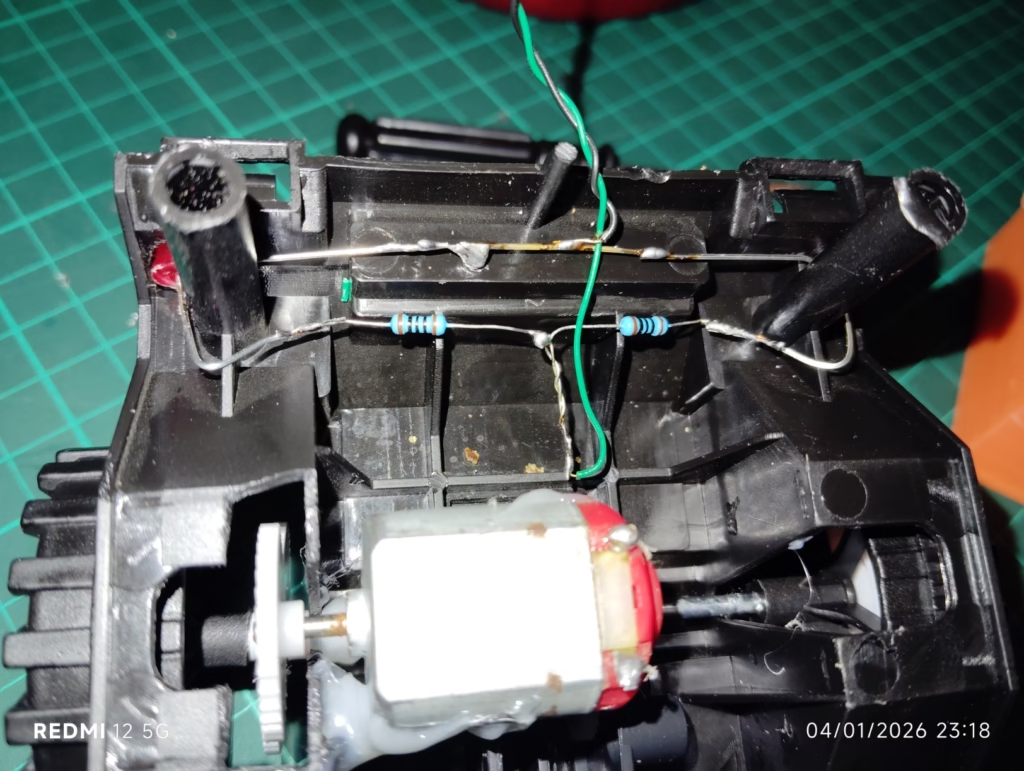
The original car operated purely on push force. To turn it into a real RC platform, the first modification was motorizing the drive system.
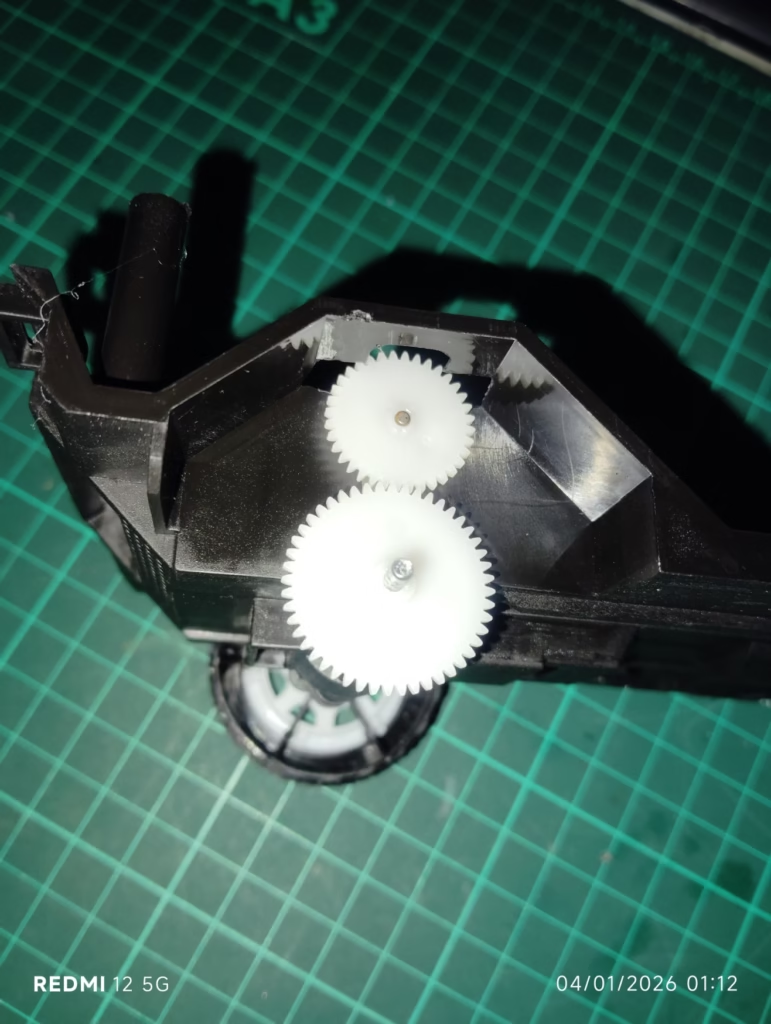
Drive System Upgrade:
- Installed a small geared DC motor
- Power transmission through a spur gear mechanism
- Direct coupling of motor rotation to the drive wheel
- Improved torque at low speed for smooth movement
This conversion changed the toy from a passive object into an actively driven robotic system—the foundation of any DIY RC car build.
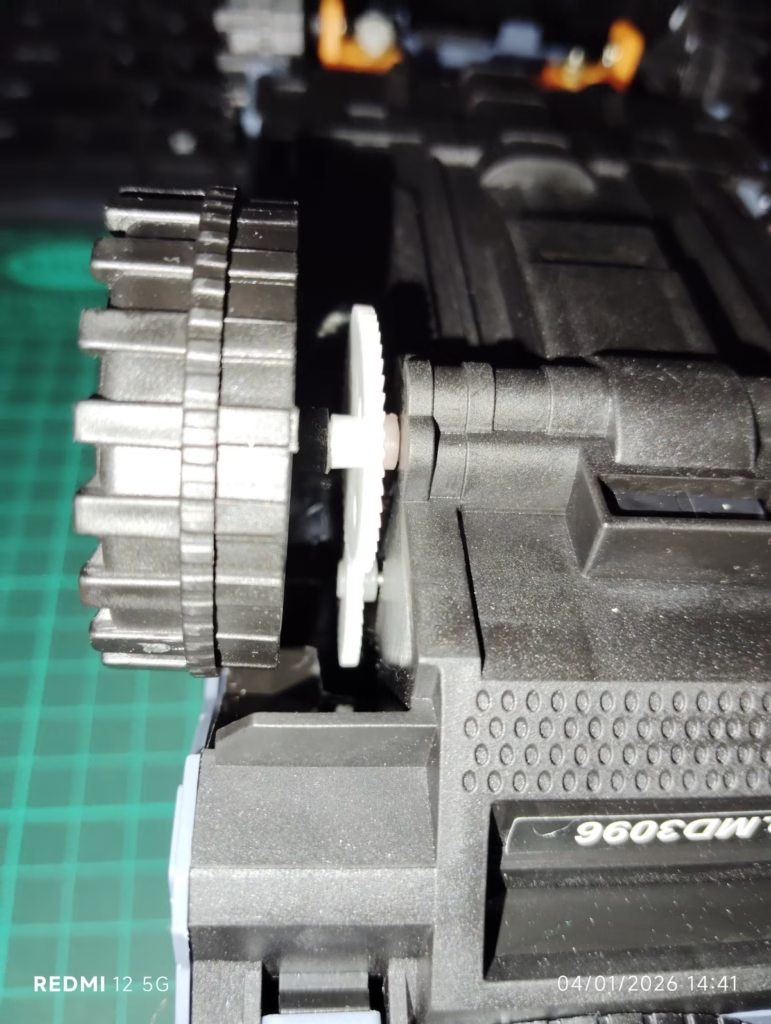
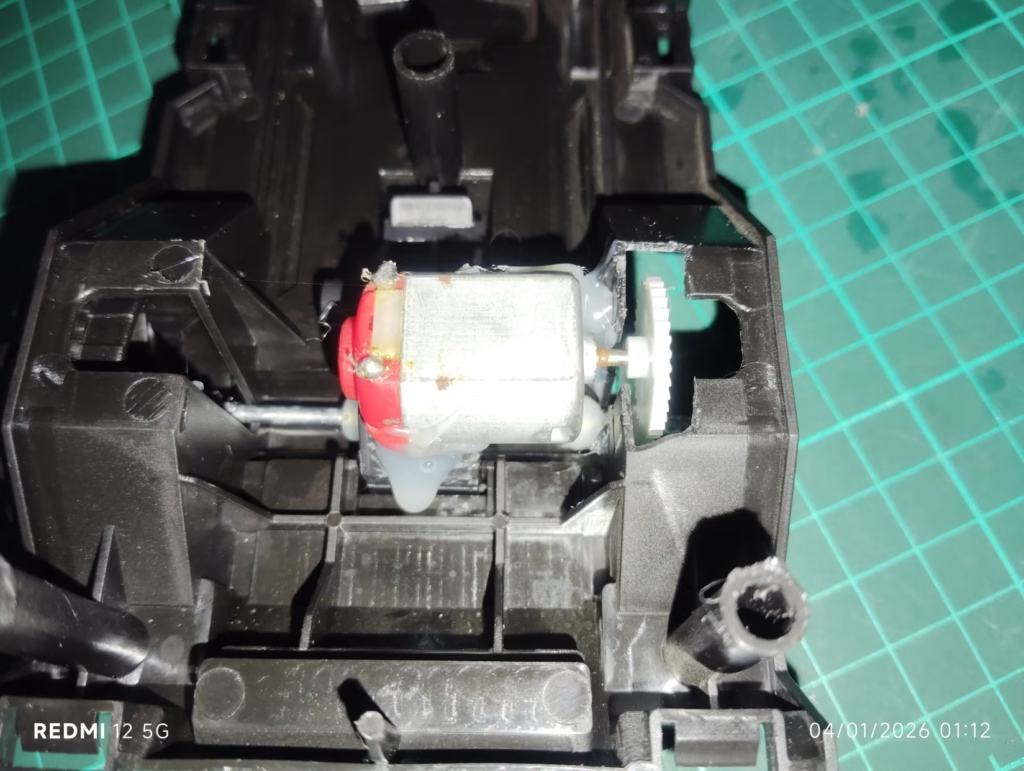
At later stage, I found that the simple DC motor as shown in Figure above was not providing sufficient torque for this car. Therefore, I replaced this simple DC motor with N20 (Geared) DC motor.
If you’re new to Arduino motor control, check out our these beginner guides :
How to use L293D Motor Driver and Arduino with Direction Control
Arduino Soil Moisture Sensor based Smart Plant Watering System
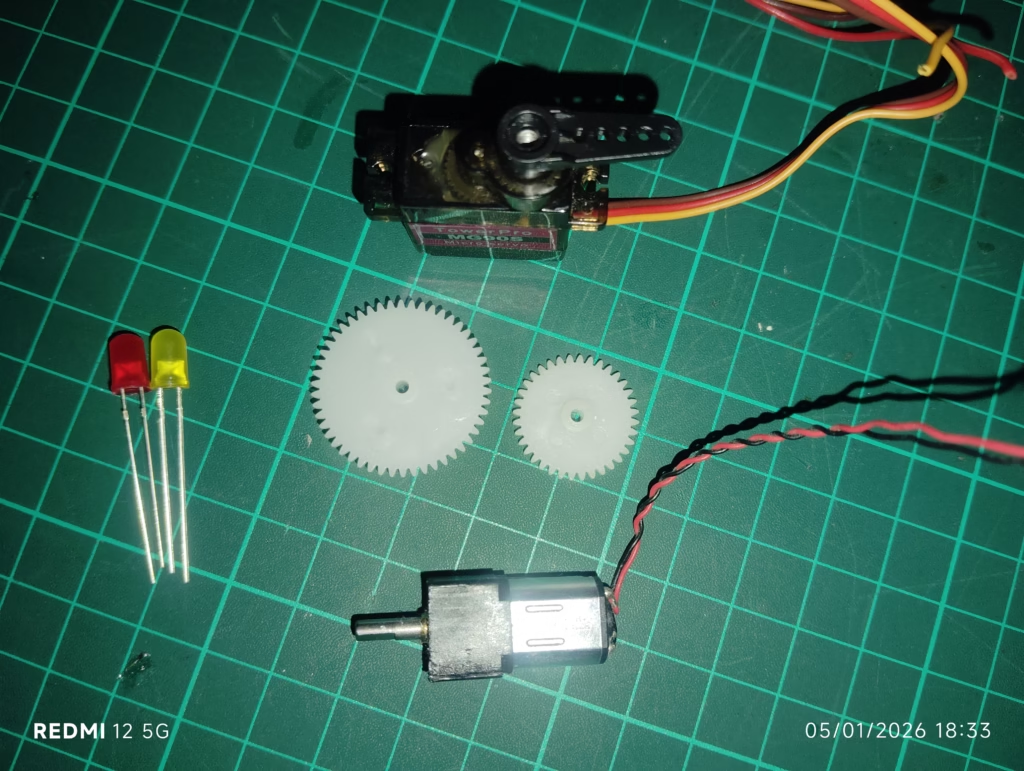
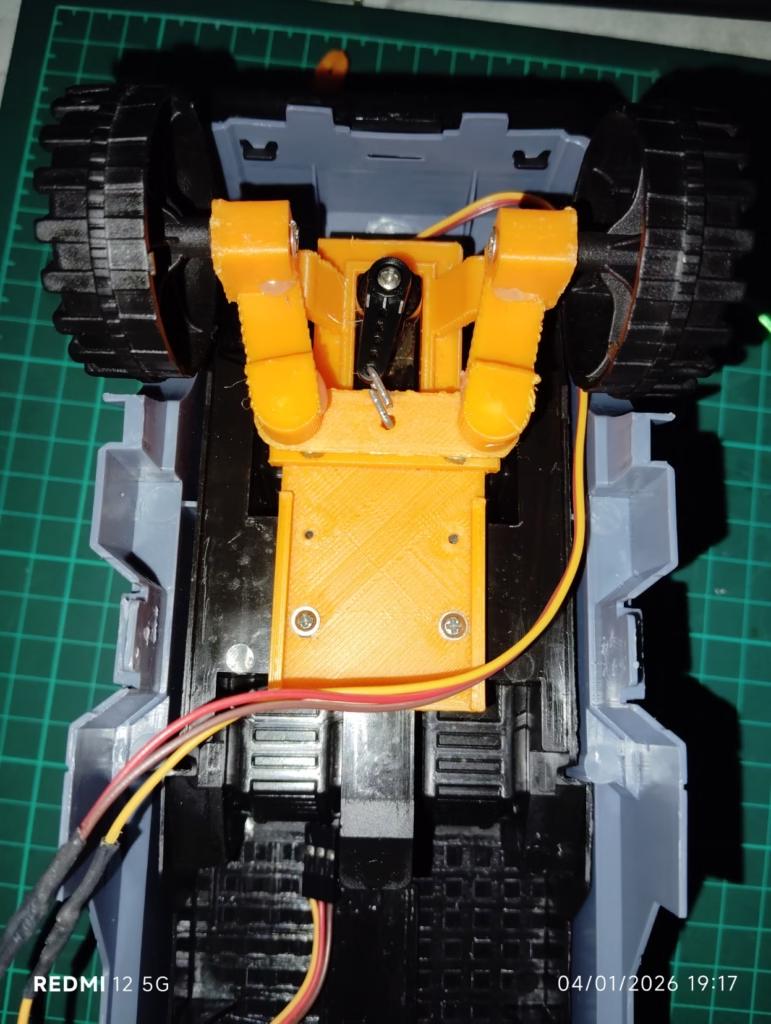
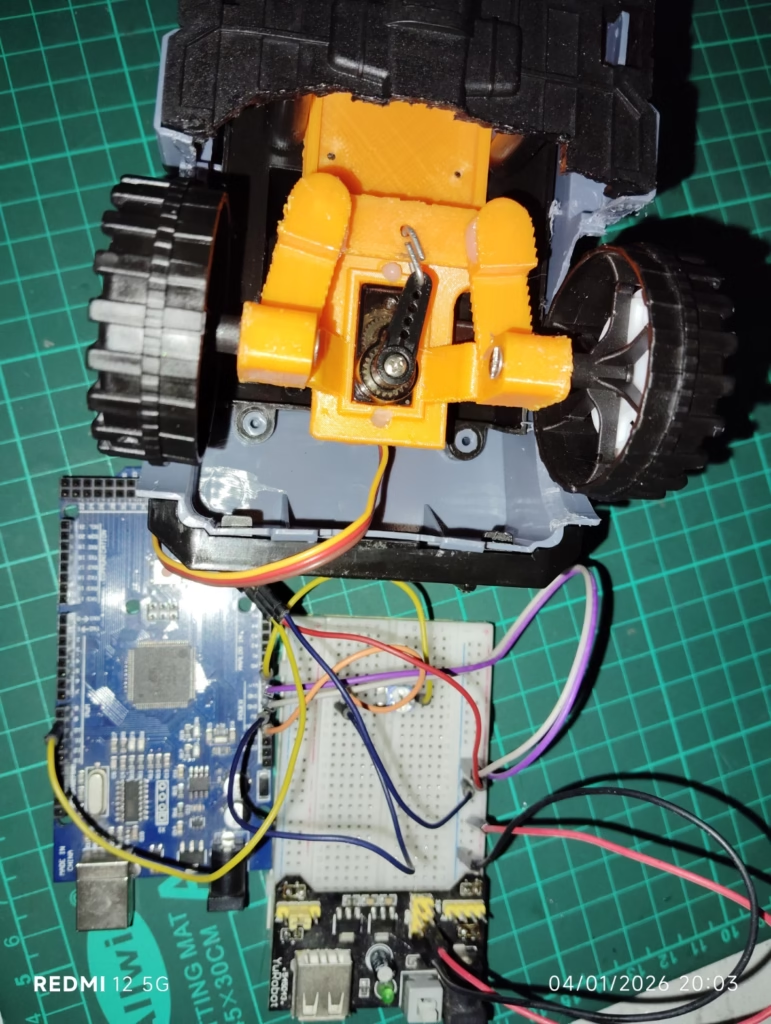
Step 2: 3D-Printed Steering System with SG90 Servo
Steering is the heart of any RC vehicle. Instead of using off-the-shelf parts, I designed a custom steering mechanism.
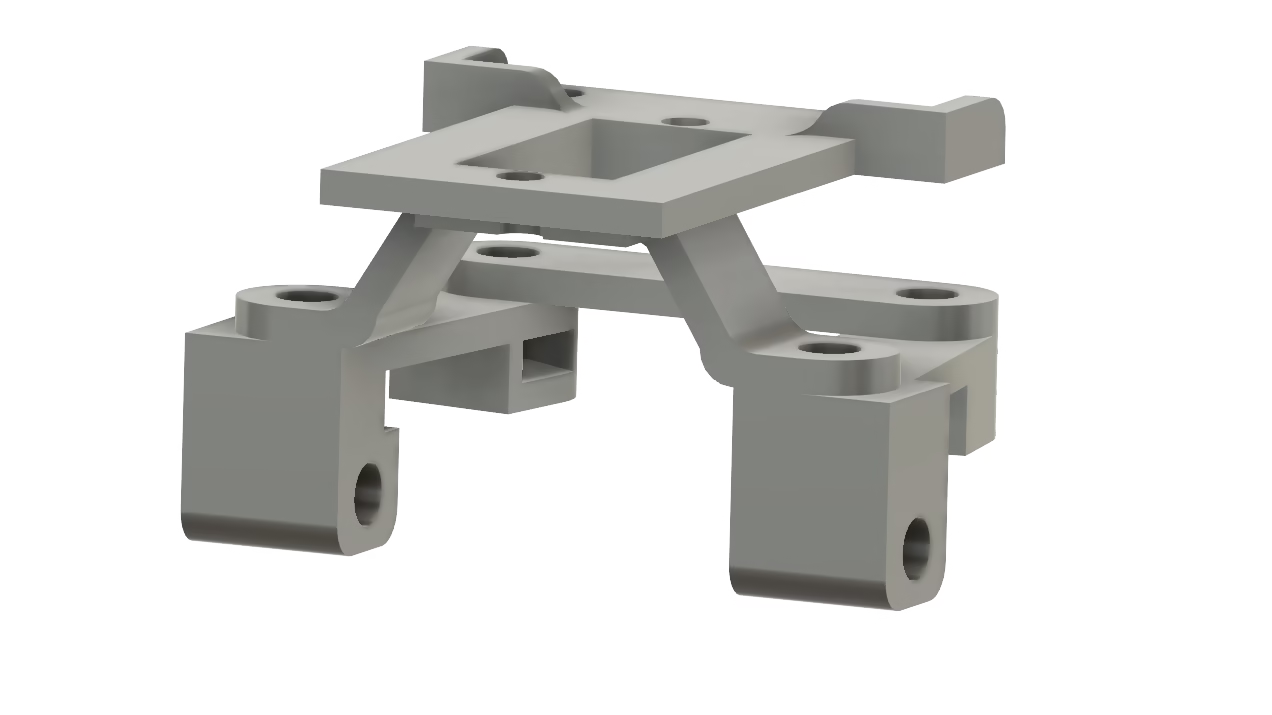
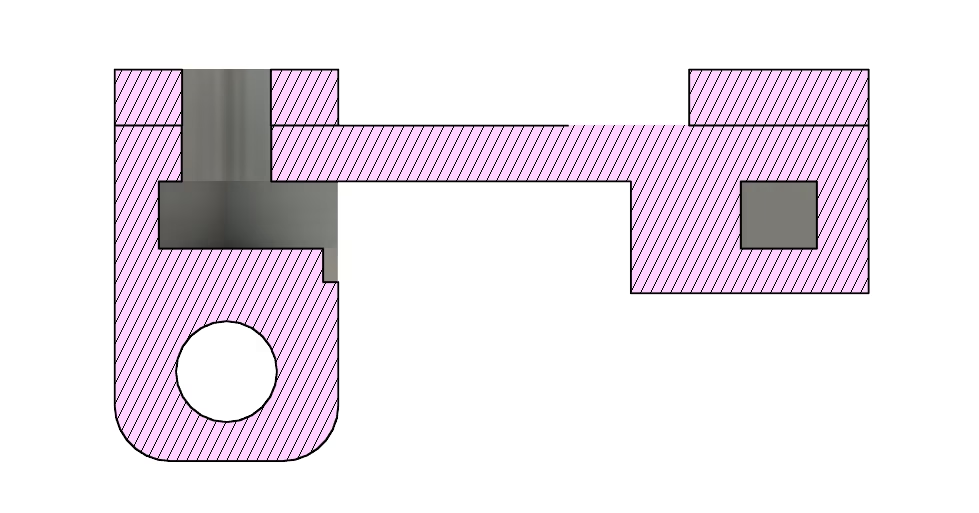
The STL files for the above CAD Model can be obtained from my Cults3D Designs
Key Highlights:
- Steering components designed from scratch
- Parts 3D printed for rapid prototyping
- Controlled using an SG90 micro servo motor
- Servo motion converted into precise left–right wheel steering
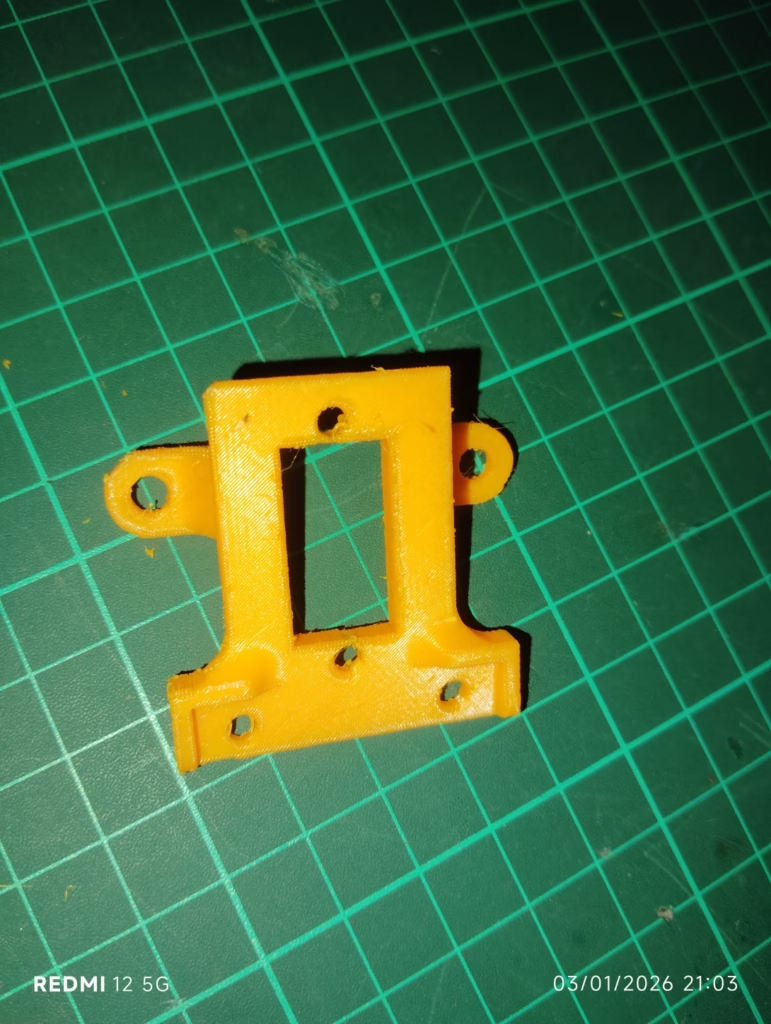
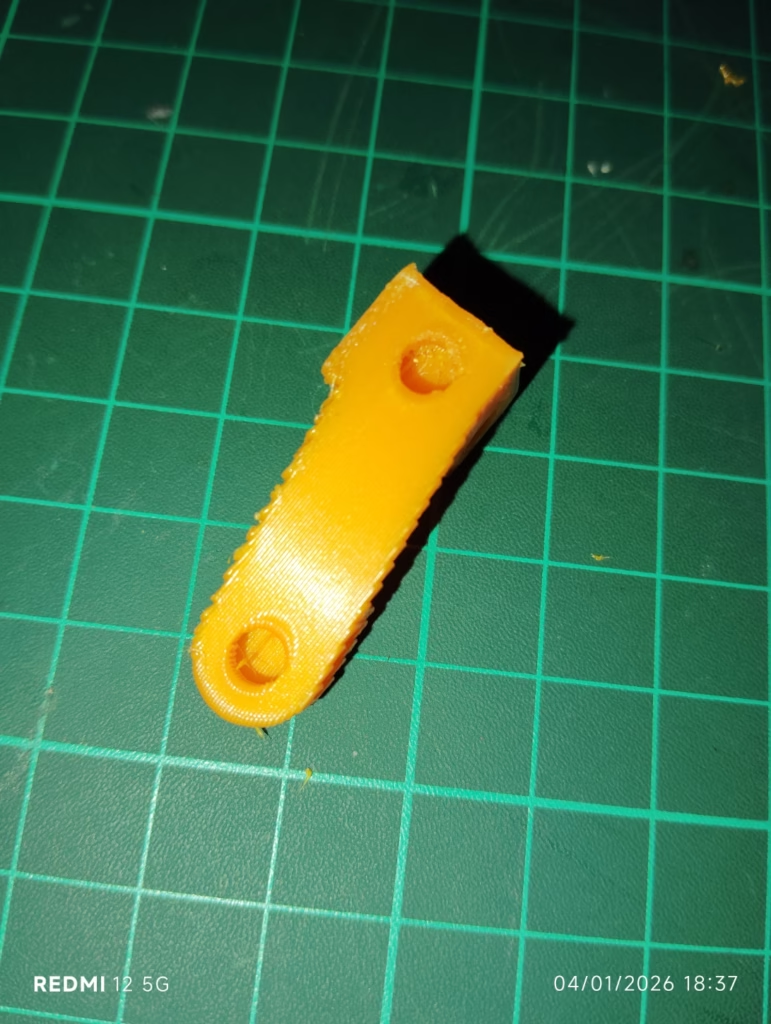
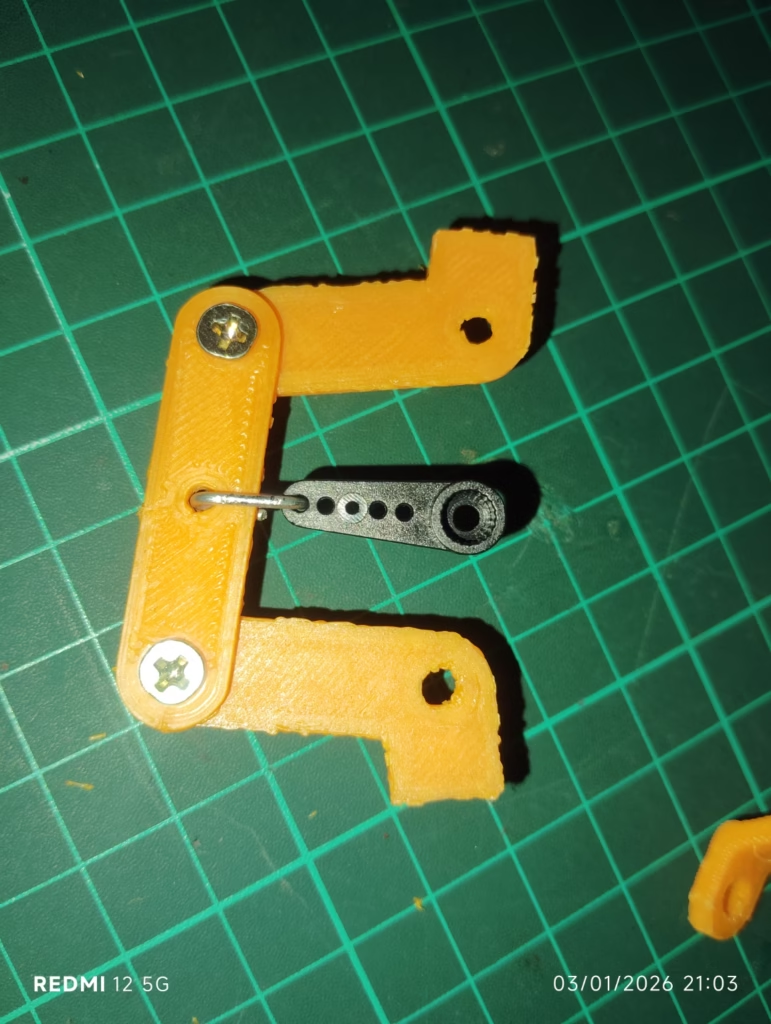
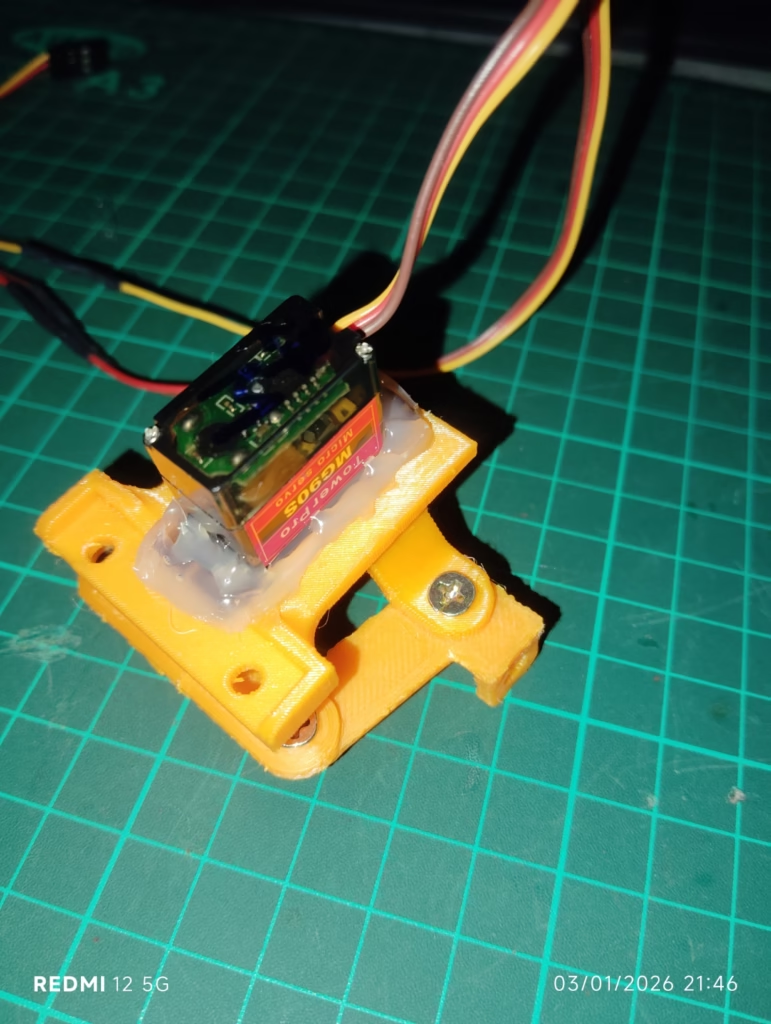
This approach makes the project ideal for learning servo control, steering kinematics, and mechanical design using CAD and 3D printing.
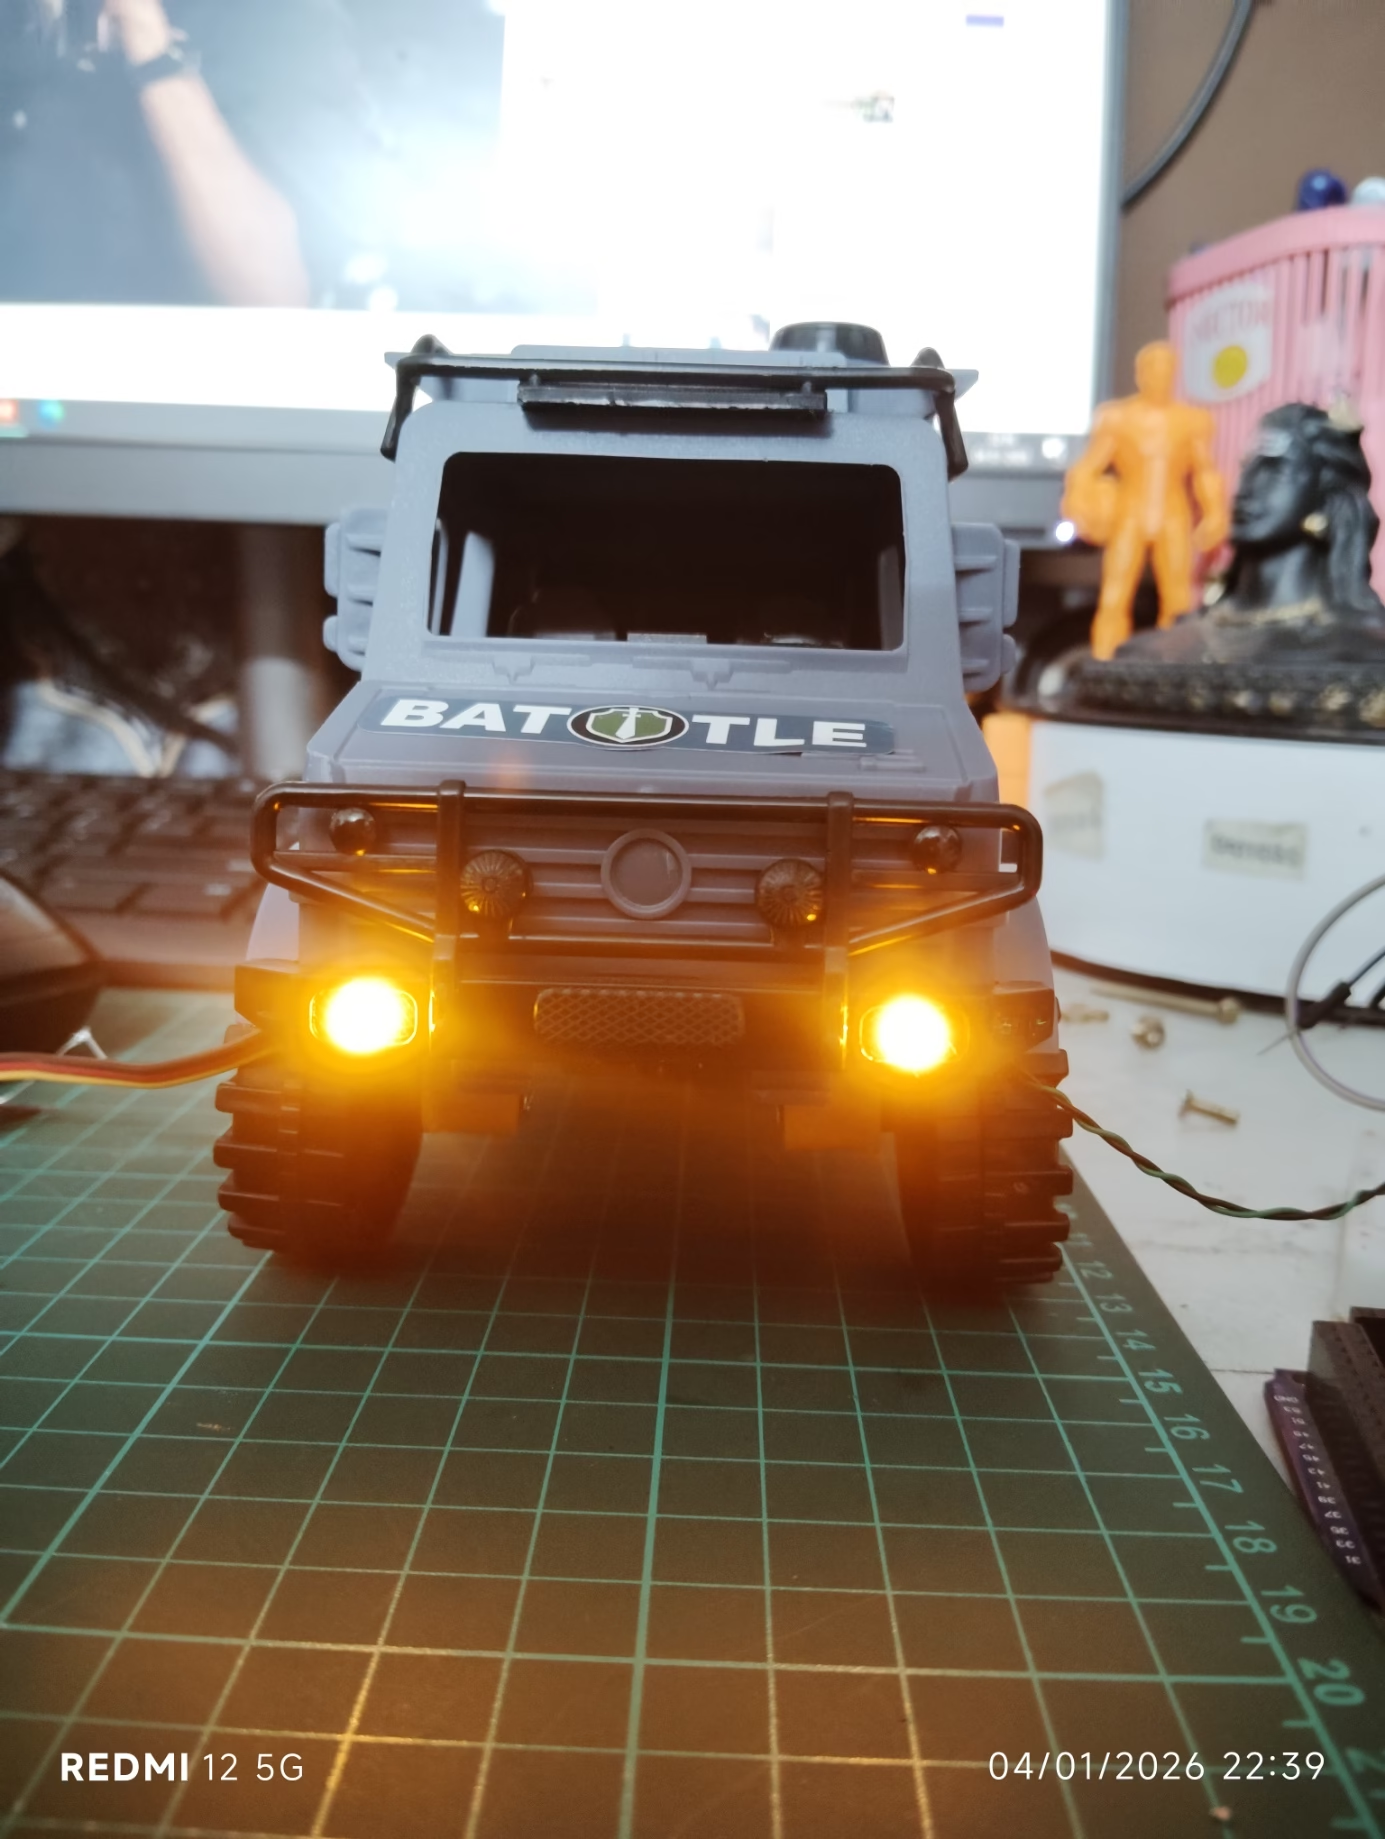
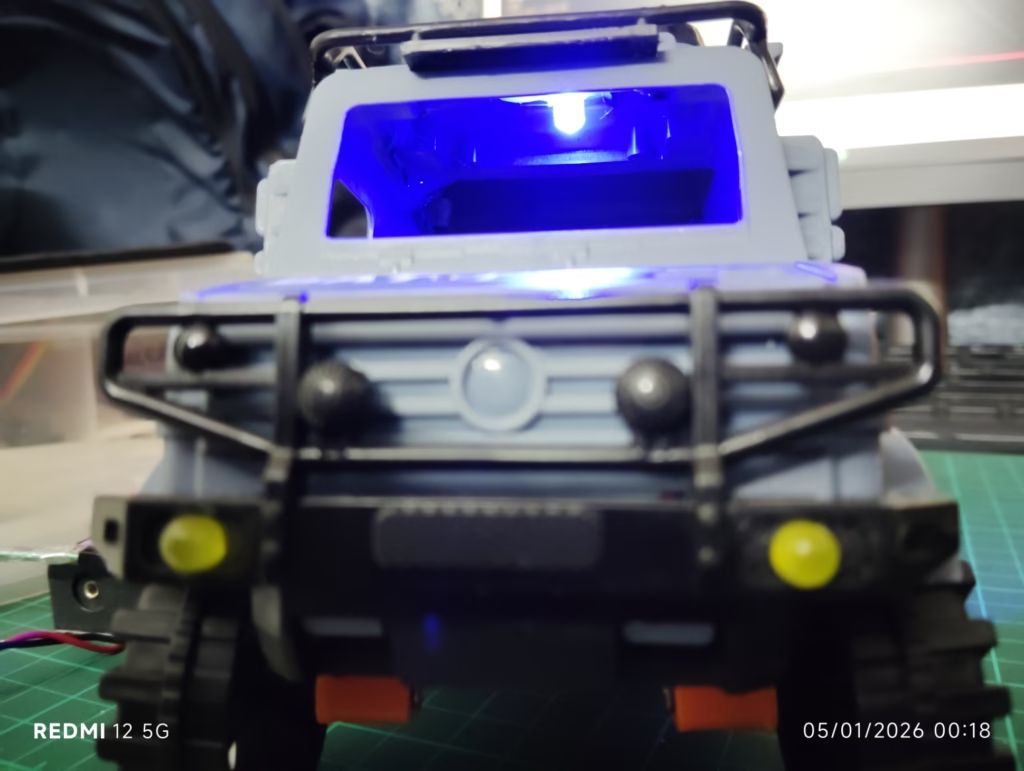
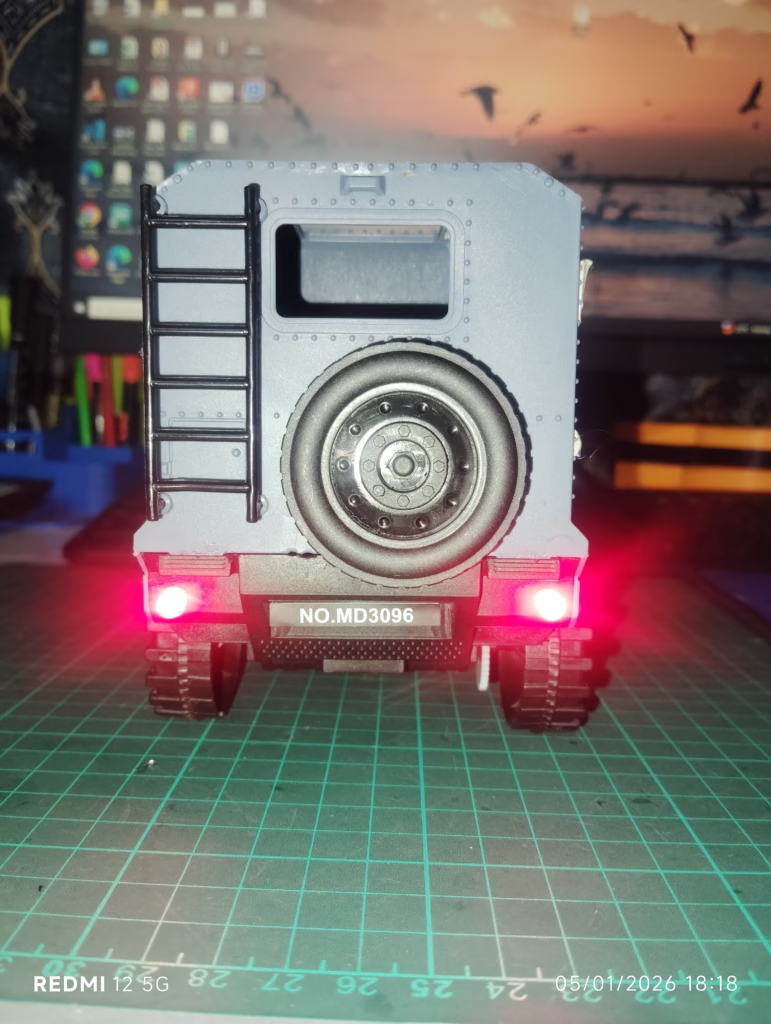
Step 3: Adding LED Lighting for Realism and Learning
To enhance realism and functionality, I integrated a complete LED lighting system, turning the toy into a realistic smart vehicle.
Lighting Setup:
- 🚘 Front headlights: 5 mm yellow LEDs
- 🔴 Rear lights: 5 mm red LEDs
- 🔵 Interior light: 5 mm blue LED

Besides aesthetics, this step introduced:
- LED current limiting
- Digital output control
- Practical vehicle electronics concepts
Perfect for beginners exploring Arduino LED control projects. wiring, making the project more educational.

🔋 Step 4: Power Supply Design
The entire system is powered using a 7.5 V battery pack, selected to handle:
- DC motor load
- Servo current peaks
- LED circuits
- Microcontroller voltage regulation
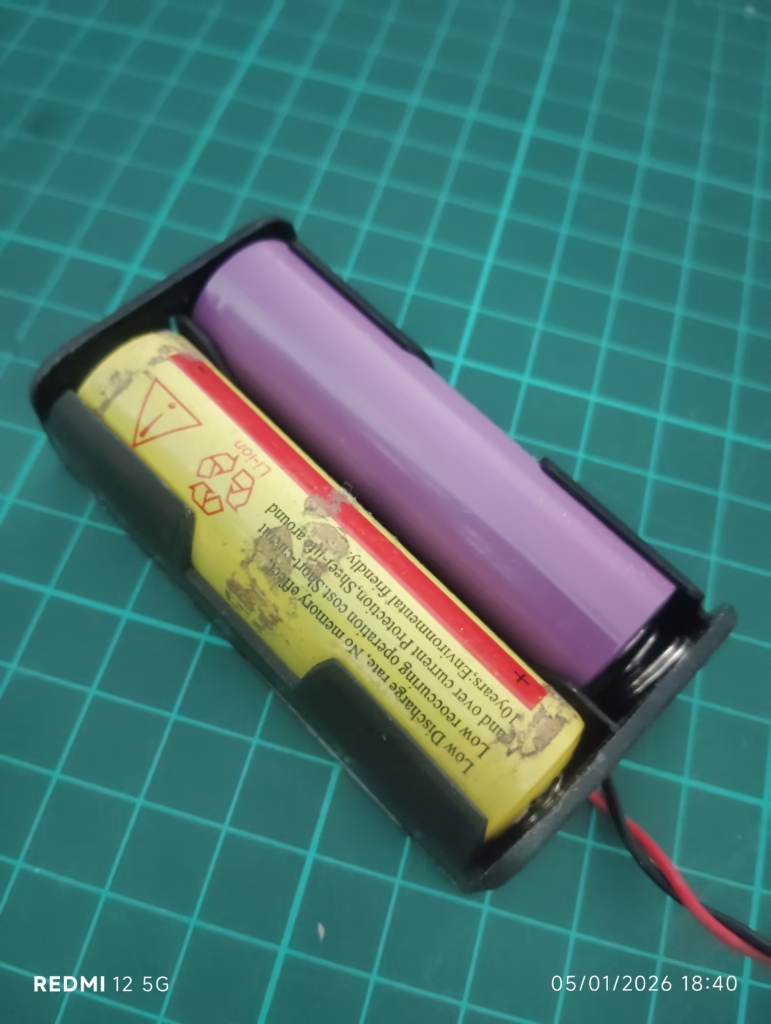
Power management was carefully considered to maintain performance, safety, and battery life.
Step 5: Smart Control System (Bluetooth + RC)
This project isn’t limited to a single control method.
This DIY smart RC car is designed to support multiple control methods, making it flexible and educational.
📱 Bluetooth Control Using Arduino / NodeMCU (Planned)
The primary control mode will be Bluetooth-based wireless control:
- Control via smartphone or Bluetooth remote
- Microcontroller options:
- Arduino (simple & beginner-friendly)
- NodeMCU (for IoT expansion)
- Independent control of:
- Motor speed
- Steering angle
- Vehicle lights
This makes the project suitable for Arduino Bluetooth RC car tutorials and NodeMCU robotics projects.
🎯 RC Remote Controller Mode (Alternative)
In addition to Bluetooth, a traditional RC control system is also planned:
- Standard RC transmitter and receiver
- Hobby-grade control experience
- Comparison between:
- Embedded system control
- Conventional RC electronics
This dual-mode design enhances learning in embedded systems, robotics, and control engineering.
🧠 Why This DIY Smart RC Car Project Is Valuable
This is not just a toy modification—it’s a complete mechatronics learning platform.
This single project covers:
- DC motor and gear mechanisms
- Servo-based steering control
- Arduino / NodeMCU integration
- 3D printing for functional parts
- Embedded electronics and wiring
- Real-world system integration
It is ideal for:
- Engineering students
- Robotics hobbyists
- STEM educators
- DIY electronics learners
🚀 Future Upgrades Planned
This DIY Arduino RC car project is still evolving. Upcoming additions include:
- Full Bluetooth control code
- Circuit diagrams and wiring schematics
- Motor driver–based speed control
- RC + Bluetooth mode switching
- Downloadable STL files
- Possible sensor or camera integration
🔧 Why I Share Projects Like This on TechKnowLab
Because true learning happens when you design, build, test, and improve.
TechKnowLab focuses on practical electronics, 3D printing, robotics, and mechatronics projects that anyone can learn from—students, hobbyists, and professionals alike.
🔗 Final Thoughts
If you’re looking to build a DIY smart RC car using Arduino and 3D printing, this project is a perfect place to start.
More hands-on tutorials, circuit guides, and DIY kits are coming soon.
TechKnowLab – Prototyping the Ideas! ⚙️✨
Frequently Asked Questions (FAQ)
❓ What is a DIY smart RC car?
A DIY smart RC car is a self-built remote-controlled vehicle created using components like a DC motor, servo motor, microcontroller (Arduino or NodeMCU), and custom mechanical parts—often enhanced with Bluetooth or wireless control.
❓ Can I build a smart RC car using Arduino?
Yes. Arduino is ideal for building a smart RC car as it can control DC motors, servo-based steering, LEDs, and Bluetooth modules. It is beginner-friendly and widely supported.
❓ Why use 3D printing in an RC car project?
3D printing allows custom design of steering mechanisms, mounts, brackets, and housings. It enables rapid prototyping, easy modification, and low-cost fabrication of mechanical parts.
❓ What servo motor is used for steering in this project?
This project uses an SG90 micro servo motor, which is compact, affordable, and suitable for lightweight steering applications in DIY RC cars.
❓ How is the RC car powered?
The car is powered using a 7.5 V battery pack, which supplies sufficient voltage and current for the DC motor, servo motor, LEDs, and microcontroller through proper regulation.
❓ Can the car be controlled using both Bluetooth and RC remote?
Yes. The project is designed to support Bluetooth-based control using Arduino/NodeMCU as well as traditional RC transmitter–receiver control, making it a hybrid and flexible system.
❓ Is this project suitable for beginners?
Yes. This DIY smart RC car project is suitable for beginners who want hands-on experience with Arduino, motors, servo control, basic electronics, and 3D printing.
❓ What skills can I learn from this project?
This project helps you learn:
- Arduino programming
- DC motor and servo control
- Embedded systems
- 3D printing and CAD design
- Mechatronics system integration